Sunday, July 29, 2012

Great Room Ceiling

One thing I wanted in my house was a wood ceiling in the Great Room.  Well, through the design process and the building process, the ceiling was much higher than I had anticipated.  It turned out to be over 18 feet at the peak.  Also, drywall was placed on the ceiling as an extra added insulation although 5/8 inch sheet rock doesn't provide much insulation.  The rafters were placed 16 inches on center but drywall and rafters do not provide a good foundation for upside down wood flooring.  It required 6 inch tongue and groove and I would need to finish the wood prior to install.  We estimated the ceiling would require 70 16 ft pieces of T&G which is over 1000 board feet to be sanded, stained and one coat of poly applied.

All those issues brought on many problems.  The pine T&G first shipment of 70 pieces had 40 pieces that were defective and I rejected.  Also, to attach the 16 ft strips to the ceiling would require the ends to be routed and two biscuit slots added to each end for connections since the ceiling was 19 to 22 ft long.  I had to lay out the strips in the garage to dry: 2-3 hours for the stain and overnight for the poly.  I only had room for about 30 strips at a time.  Right in the middle of finishing the strips, the cabinets arrived so all work had to stop until we could get the cabinets out of the boxes and in the house.

Out of the second batch of 40 T&G, I rejected 20 so the Hart Lumber Co had to send more out.  Out of the third batch of 20 I rejected 5.  I think Hart was just tired of dealing with me so they gave me 5 extra strips just to get rid of me.  I still think when you pay $11 for a strip of wood, it should be usable for the intended purpose.

What also happened was the stain seemed to change when I purchased another can of the danish oil. (I could only purchase in 1/2 quart size and used almost a gallon of the stuff) Also, since I had so many different batches of lumber, the wood was probably different dryness and took the stain differently.  The result was strips that had different looks to them and the grooves seemed to be cut differently as well.

This batch turned out much more red than the first batch which is laying on the floor under the window.

Hart Lumber picking up the rejected lumber and leaving some more.

First level of the scaffolding that was used on the ceiling.

Jimmy, Donnie and Kerwin laying out the plan for the ceiling.  

It was necessary to find all the rafters and mark them for nailing the strips.

Batches of the three different colors lined up for application.  The plan was to randomly pick from each pile as they were nailed to the ceiling.

First strip going up on Thursday.  It is hot...between 98 and 100 degrees everyday and little movement of air in the room with of course the hot air at the top of the room.

Progressing along but notice it takes three men to get the strip aligned and to nail it in place.

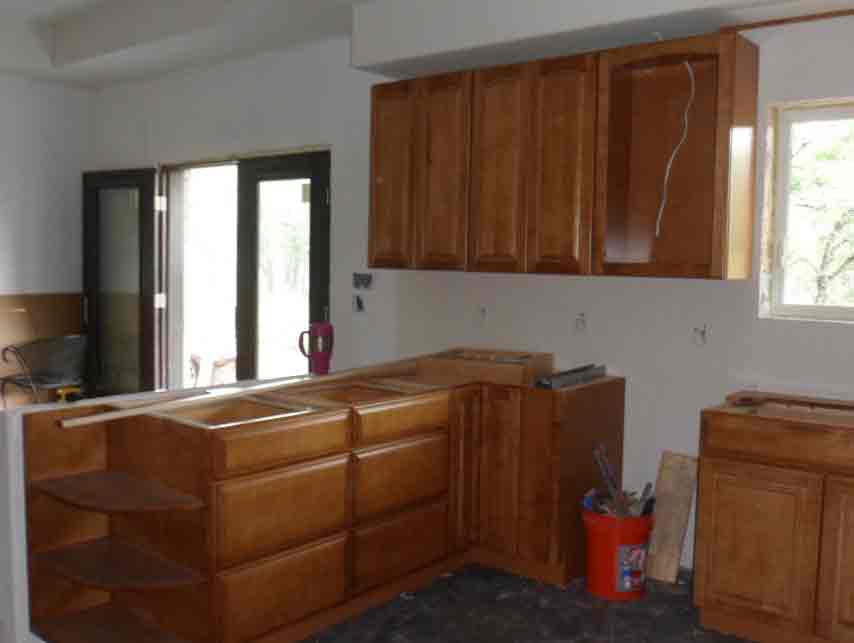
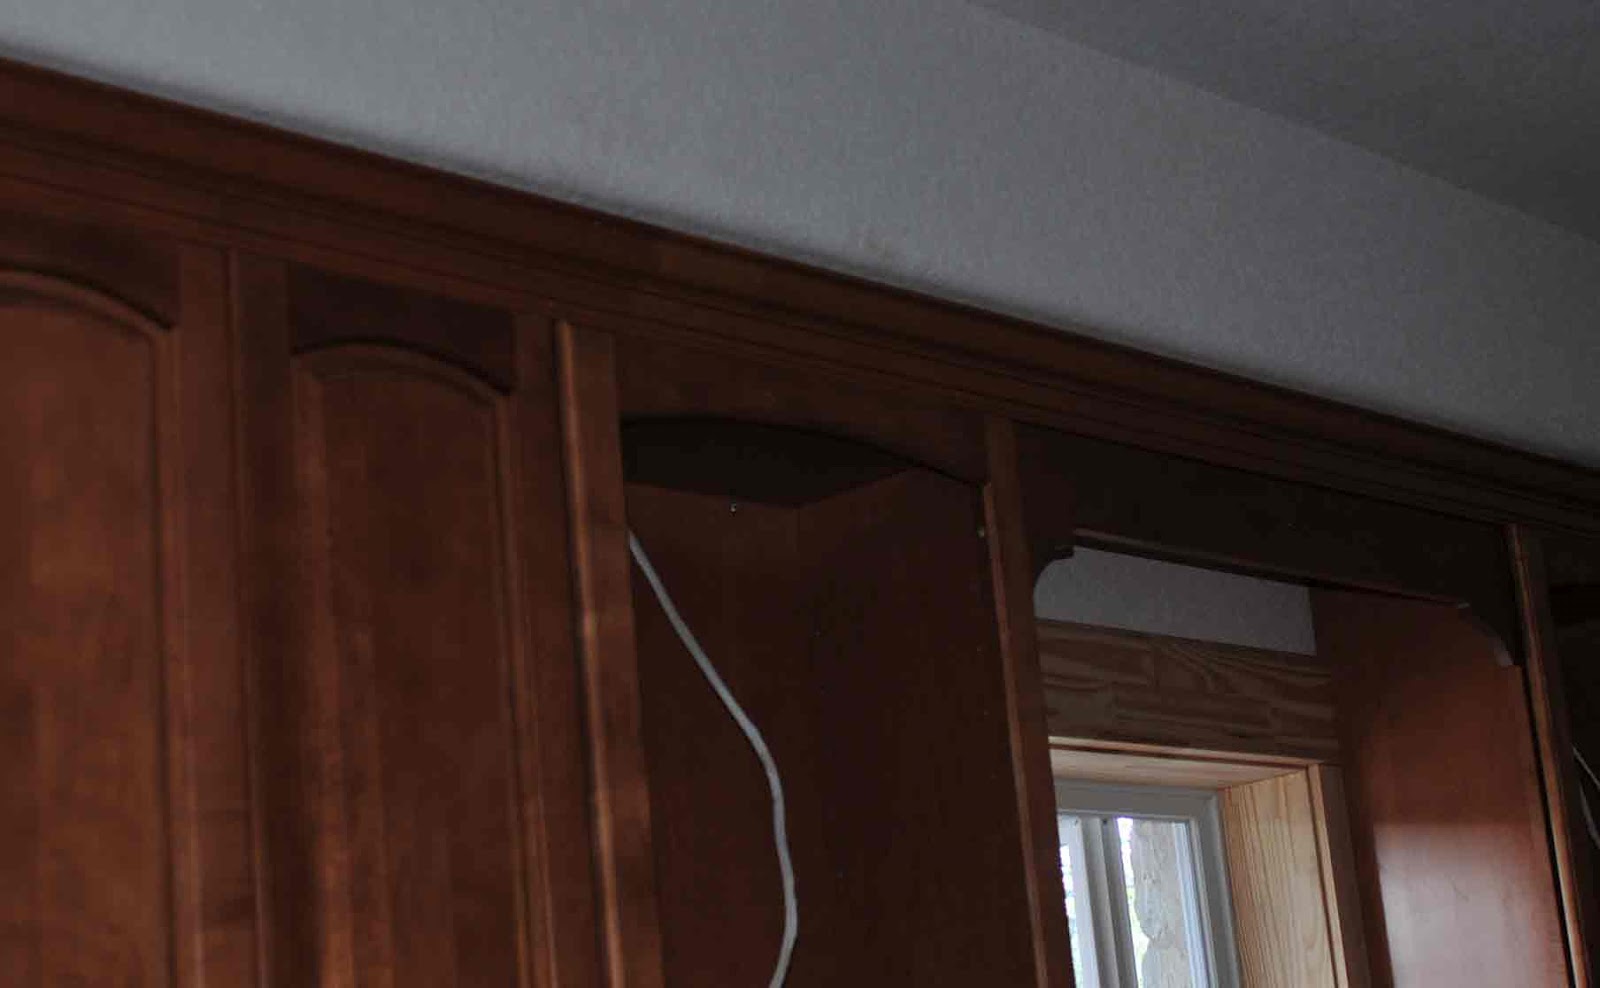
Wire hanging down is for strip lighting to be added later.

Getting higher but still on the West side of the room after many hours of work.

By the end of one full day, they had begun the East side of the room but notice they are higher and on the second level of the scaffold.

Second day and a new worker has been added, Cody, Donnie's son is taking a Popsicle break.

Donnie and Kerwin 

Almost to the peak on second day but really hot at this height and difficult to climb the three levels now of the scaffolding.

Third day of applying the T&G and looks like they will finish today.

They had to wrap the T&G around the central beam.


Done and a beautiful job.  I just love the multi-colored hand finished wood.

The wood really sets off the white limestone rock. 

The wood mantle and black wood stove with its black pipe is going to add more contrast to the white wall.  The little shelves will hold art objects and a painting will be placed over the mantle and between the little shelves. The guys even framed in the fire protection box for the stove pipe.

I am very pleased with how it turned out.

Rainwater System

A very major milestone was finished this week with the install of the 20,000 gallon rainwater tank and the collection system.  The inside filters and pump will probably be installed next week but now I can begin to collect water from the roof.  For one inch of rain, the system has the capability to collect and store about 2000 gallons of water.

Sand used on level ground as the pad for the tank.

Tank showed up on a small trailer with about 7 workers and the tank was installed in less than 3 hours.


First level going up.

Second Level.

Rim was locked on and screwed down.

The braces for the top had to be screwed together.

This picture was taken through the side hole for the overflow.  The inside protection for the liner and the liner were placed once the sides were up.

This guy is cutting the holes for supply pipe back to the house and the fire plug which I can also use to get water directly out of the tank for other uses.

Workers are cutting off the panels which make the roof.

A hatch is also placed in the roof for access.

Overflow pipe.

Ladder and hatch are visible.

Finished tank.  4000 gallons of water were added later in the day to the tank.

Trencher on site to cut the trenches through the rock to enable downward flow of the collections.

Noisy machine and wasn't cutting the rock more than it was breaking and throwing the rock.  


Trenching to the tank from the house.

It was necessary to bury the lines a little so the concrete pad would cover them in front of the double door on the garage.


Gravel was added around the bottom of the tank for stability on top of the sand.

The downspouts were added with a maintenance free filter on each one of them.

This one was a little tricky since it had to go around the window and had to be increased in size to 4 inches since the last rain showed a lot of water was coming off the roof at this location.

This is the front of the house and all the pipe is raised for better drainage but they will be covered with dirt at the house foundation.

Pipes in place from house to tank.


Pipes around the back of the house.  There are 7 downspouts around the house and one extra opening in case we find we need one more at the South corner of the garage.


All will be covered up but good to make a record with pictures.

Water level indicator....4000 gallons in tank.  I think I will put some more visible marks so I can tell exactly how much water is in the tank.

This is the inlet from the collection system into the tank.  At the top is an additional filter before the water enters the tank.

HASN'T RAINED A DROP SINCE I HAD THE TANK INSTALLED!!!!!

Kitchen Cabinets - finished

This is Vivian at Home Depot who was a tremendous help with designing my kitchen, pantry and bathrooms with the right cabinets, fillers and all the extras.

This cabinet which is between the refrig and the range was one of the "freebee's" from Craft Made.


I received this double level utensil drawer replacement which took us a little while to figure out the entire drawer and guides had to be replaced.  Very nice.

Another "freebee" which I will use a a wastebasket holder.

This is the "almost" finished central pod--no crown molding yet.

Missing the over the range cabinet which has an exhaust hood in it.

Cabinets between kitchen and dining.  

Kerwin is struggling with the hood install in the cabinet over the range. He figured it out which I knew he would.

They had LOTS of problems trying to get the fillers over the cabinets to attached to the cabinets so the crown molding could be attached.  Each time they thought it was glued and stable, the nail gun blew out the filler.

Much glue and wasted time until Kerwin finally decided to back up the filler with some addition supports.

I told you he would figure out about the hood install.


The crown molding is starting to go up after many hours of attempts to glue the finished wood together.

Looks really finished now with the crown attached and the valence over the window.  This door will have a light in the top, glass shelves and a glass door...one on each side of the window.


Kerwin and Donnie also finished the crown in the bedrooms and pop-ups in the dining and Master Bedroom.


LED rope lighting will go behind the crown in the pop-ups.