First the painting, most of these pictures are kind of boring but considering it took soooo much longer than I anticipated, maybe it would be useful for others to see how the work progressed.
To start off the painters didn't show up the day they were contracted to begin the work but delayed from Wed to the next Monday. Also, they never worked more than 5 hours a day with usually two people. They also didn't show up one day at all and they took Labor Day as a holiday so to say the job took two and one half weeks is true but they worked much less than 100 hours...more like 35 hours. Very frustrating to see such slow progress.

They took a long time to cover the floors, tape around the trim for the prime coat of lacquer. The prime coat was rough so then they had to sand it before they put on the final coat of oil semi-gloss enamel. The finish was very nice once it was complete.

This is the electronics shelf. Turned out nice and smooth. The enamel should also be durable.

Looking into the study..quite a lot of prep work had to be done...more than I realized.

Master Bedroom looking into the Master Bath.

Bedroom #2


All the doors were removed and I took the handles off but they had to tape off the hinges. The doors had the same lacquer prime coat and sanded then final enamel finish.

Garage also received the same treatments for the trim.

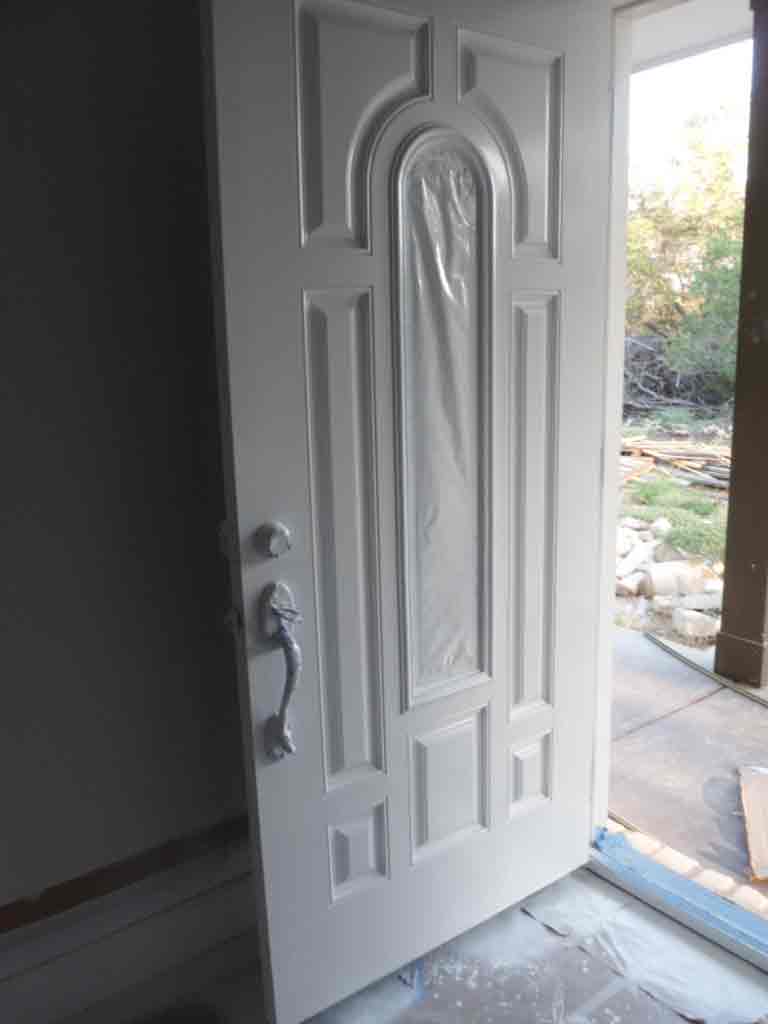
Front door was painted in place so I could lock up the house overnight but they took off the garage door which caused the garage to be unlocked over the Labor Day Holiday (3 days). I tried to put it back on but it was too wet to handle. So about $3000 worth of ERV, water treatment, dishwasher, range, toilets and misc other stuff was put at risk. Luckily, nothing was stolen.

The doors did not all come out as smooth as they should have and had to be sanded again for overspray and repainted.

The trim around the popup in the Master and the crown molding took a significant amount of time.

I also added some motifs I purchased at Lowes for $6. I finished them and glued up with Liquid Nails. The cabinet maker wanted over $300 to put a decoration on the strip over the window.

I also sealed the slabs on the hearth to look more like slate.


This is the color on the walls on Bedroom #2- I picked out what I thought was a light peach.....it is horrible and shows how a color can change from a 1 inch swatch to a 12x12 room....UUUUUGGGGHHHH

Yep Bedroom #3 and was not the color I expected.....got to change this!!!

This is Andre, one of the painters and the Master Bedroom.. This was a better color match to what I wanted so will leave this one.

This is Jeremy...another painter.

As you can see, I repainted on top of that horrible lilac color with gray. The lilac actually comes through the gray in places with the texturing and looks cool. Serendipity????

I just love this room now. But the orange room is yet to be fixed. Lesson learned....try out the paint before the entire room is painted---it will be much darker.
No comments:
Post a Comment